For me, waffles and pancakes have been way more than just a breakfast food. Lunch, dinner, and snack must be added to the definition of these golden treats. There was a time in my life where I was sooo obsessed that I had pancakes/waffles at least one meal a day for a year and a half straight. At this point, you would think grew sick of them…..nope. However, these waffles are much more balanced and nutritious than the ones I used to gobble up years ago. Nowadays, I like to double or triple the recipe and freeze everything so that I can always have them on hand for a quick breakfast or snack.
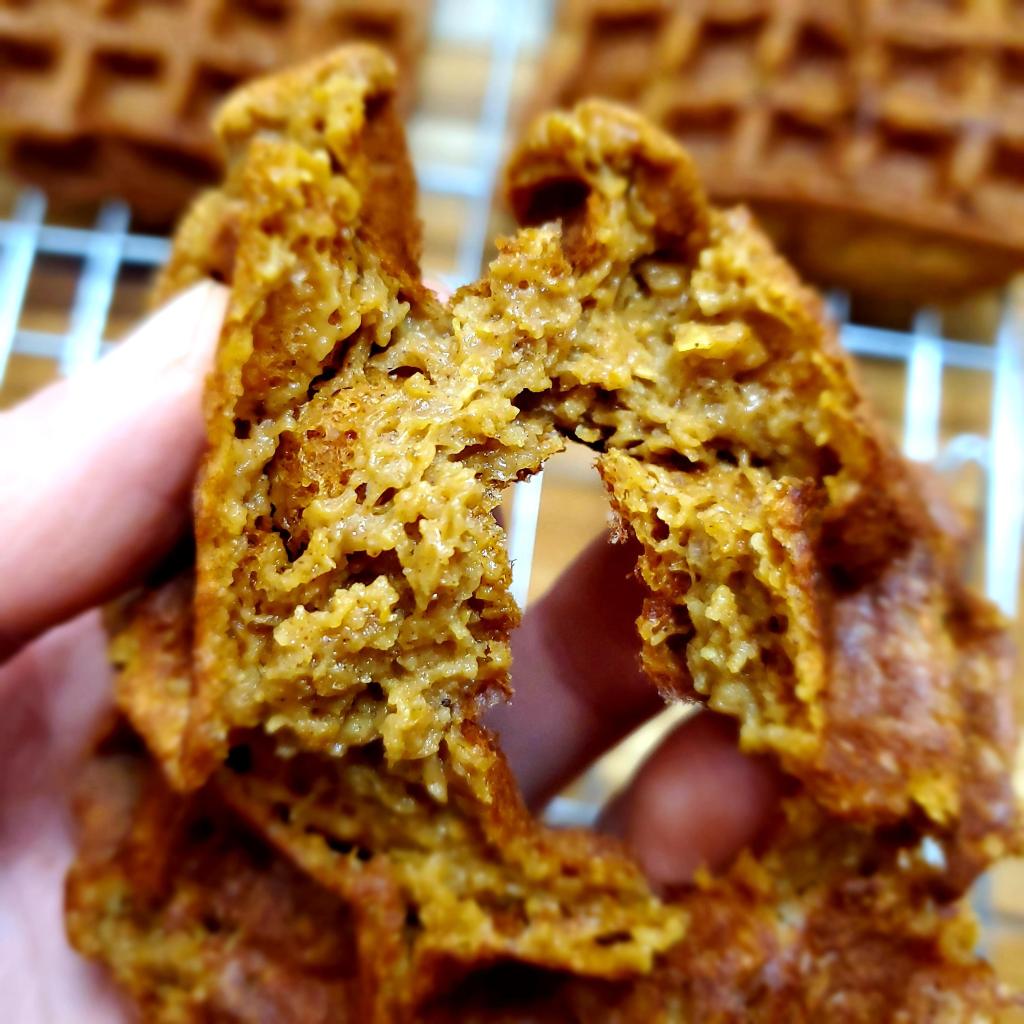
I will remind you to make sure to adjust your recipe as needed for sweetness as some protein powders can be sweeter or more potent in certain flavors than others. I usually stick to an unflavored, unsweetened variety or a less sweet vanilla flavored powder. When it comes to plant milks, my favorite for baking is soy milk. It is thick, creamy and it responds best to the vinegar, creating a texture that very much resembles buttermilk. It is also a great source of plant protein. Any unsweetened plant milk you have on hand will work here. If you don’t have unsweetened milk adjust the sweetness in the recipe (no maple syrup or use unsweetened protein powder). When cooking these waffles/pancakes I prefer to use cooking spray to provide a non stick surface, but regular sunflower, avocado, canola, or coconut oils will work great. Just make sure you are adding enough so the food does not stick to the pan. I actually ran out of cooking spray when making the recipe for this blog and had to brush avocado oil on the waffle iron. I didn’t apply enough and my waffles slightly stuck. They still tasted great though. You may notice your batter is thicker depending on what brand of GF flour blend you are using. If the batter is too thick, whisk in more plant milk. Just add little bit at a time until the batter is smooth and pourable. If you don’t have or cant find a GF flour blend, oat flour will suffice. The batter will not be as thick so just add a bit less plant milk.


Ingredients:
2 cups gluten free flour blend, I use Anita or Bobs Red Mill brands
1/4 cup plain or vanilla protein powder of choice
2 tbsp ground flax seed
2 tsp baking powder
1/2 tsp baking soda
1 tsp pumpkin pie spice
1/2 tsp ground ginger
1/4 tsp salt
pinch of nutmeg
2 1/4 cups unsweetened plant milk of your choice
1 tbsp apple cider vinegar
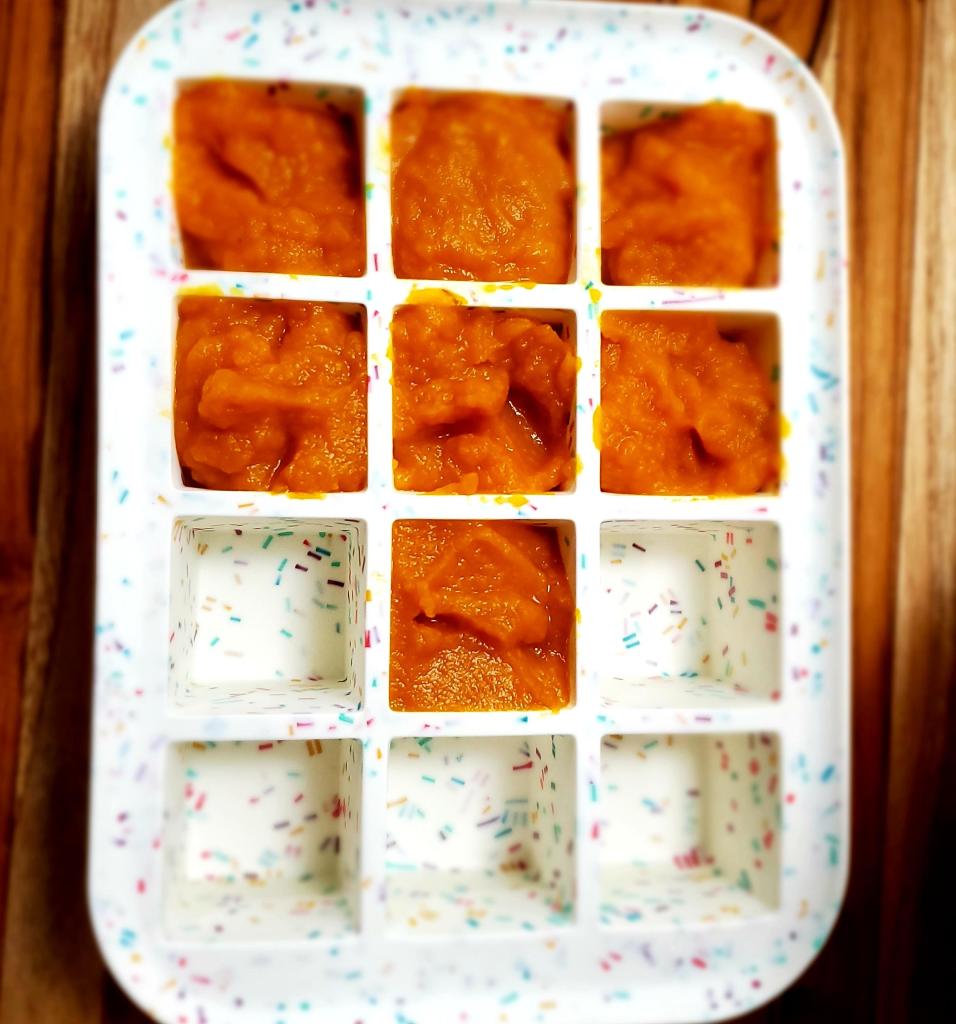
1 small banana, mashed or 1/4 cup of pumpkin puree
1 tbsp maple syrup or coconut sugar (optional)
1 tbsp molasses
1 tsp vanilla extract
cooking spray or oil of greasing your pan or waffle iron
Procedure:
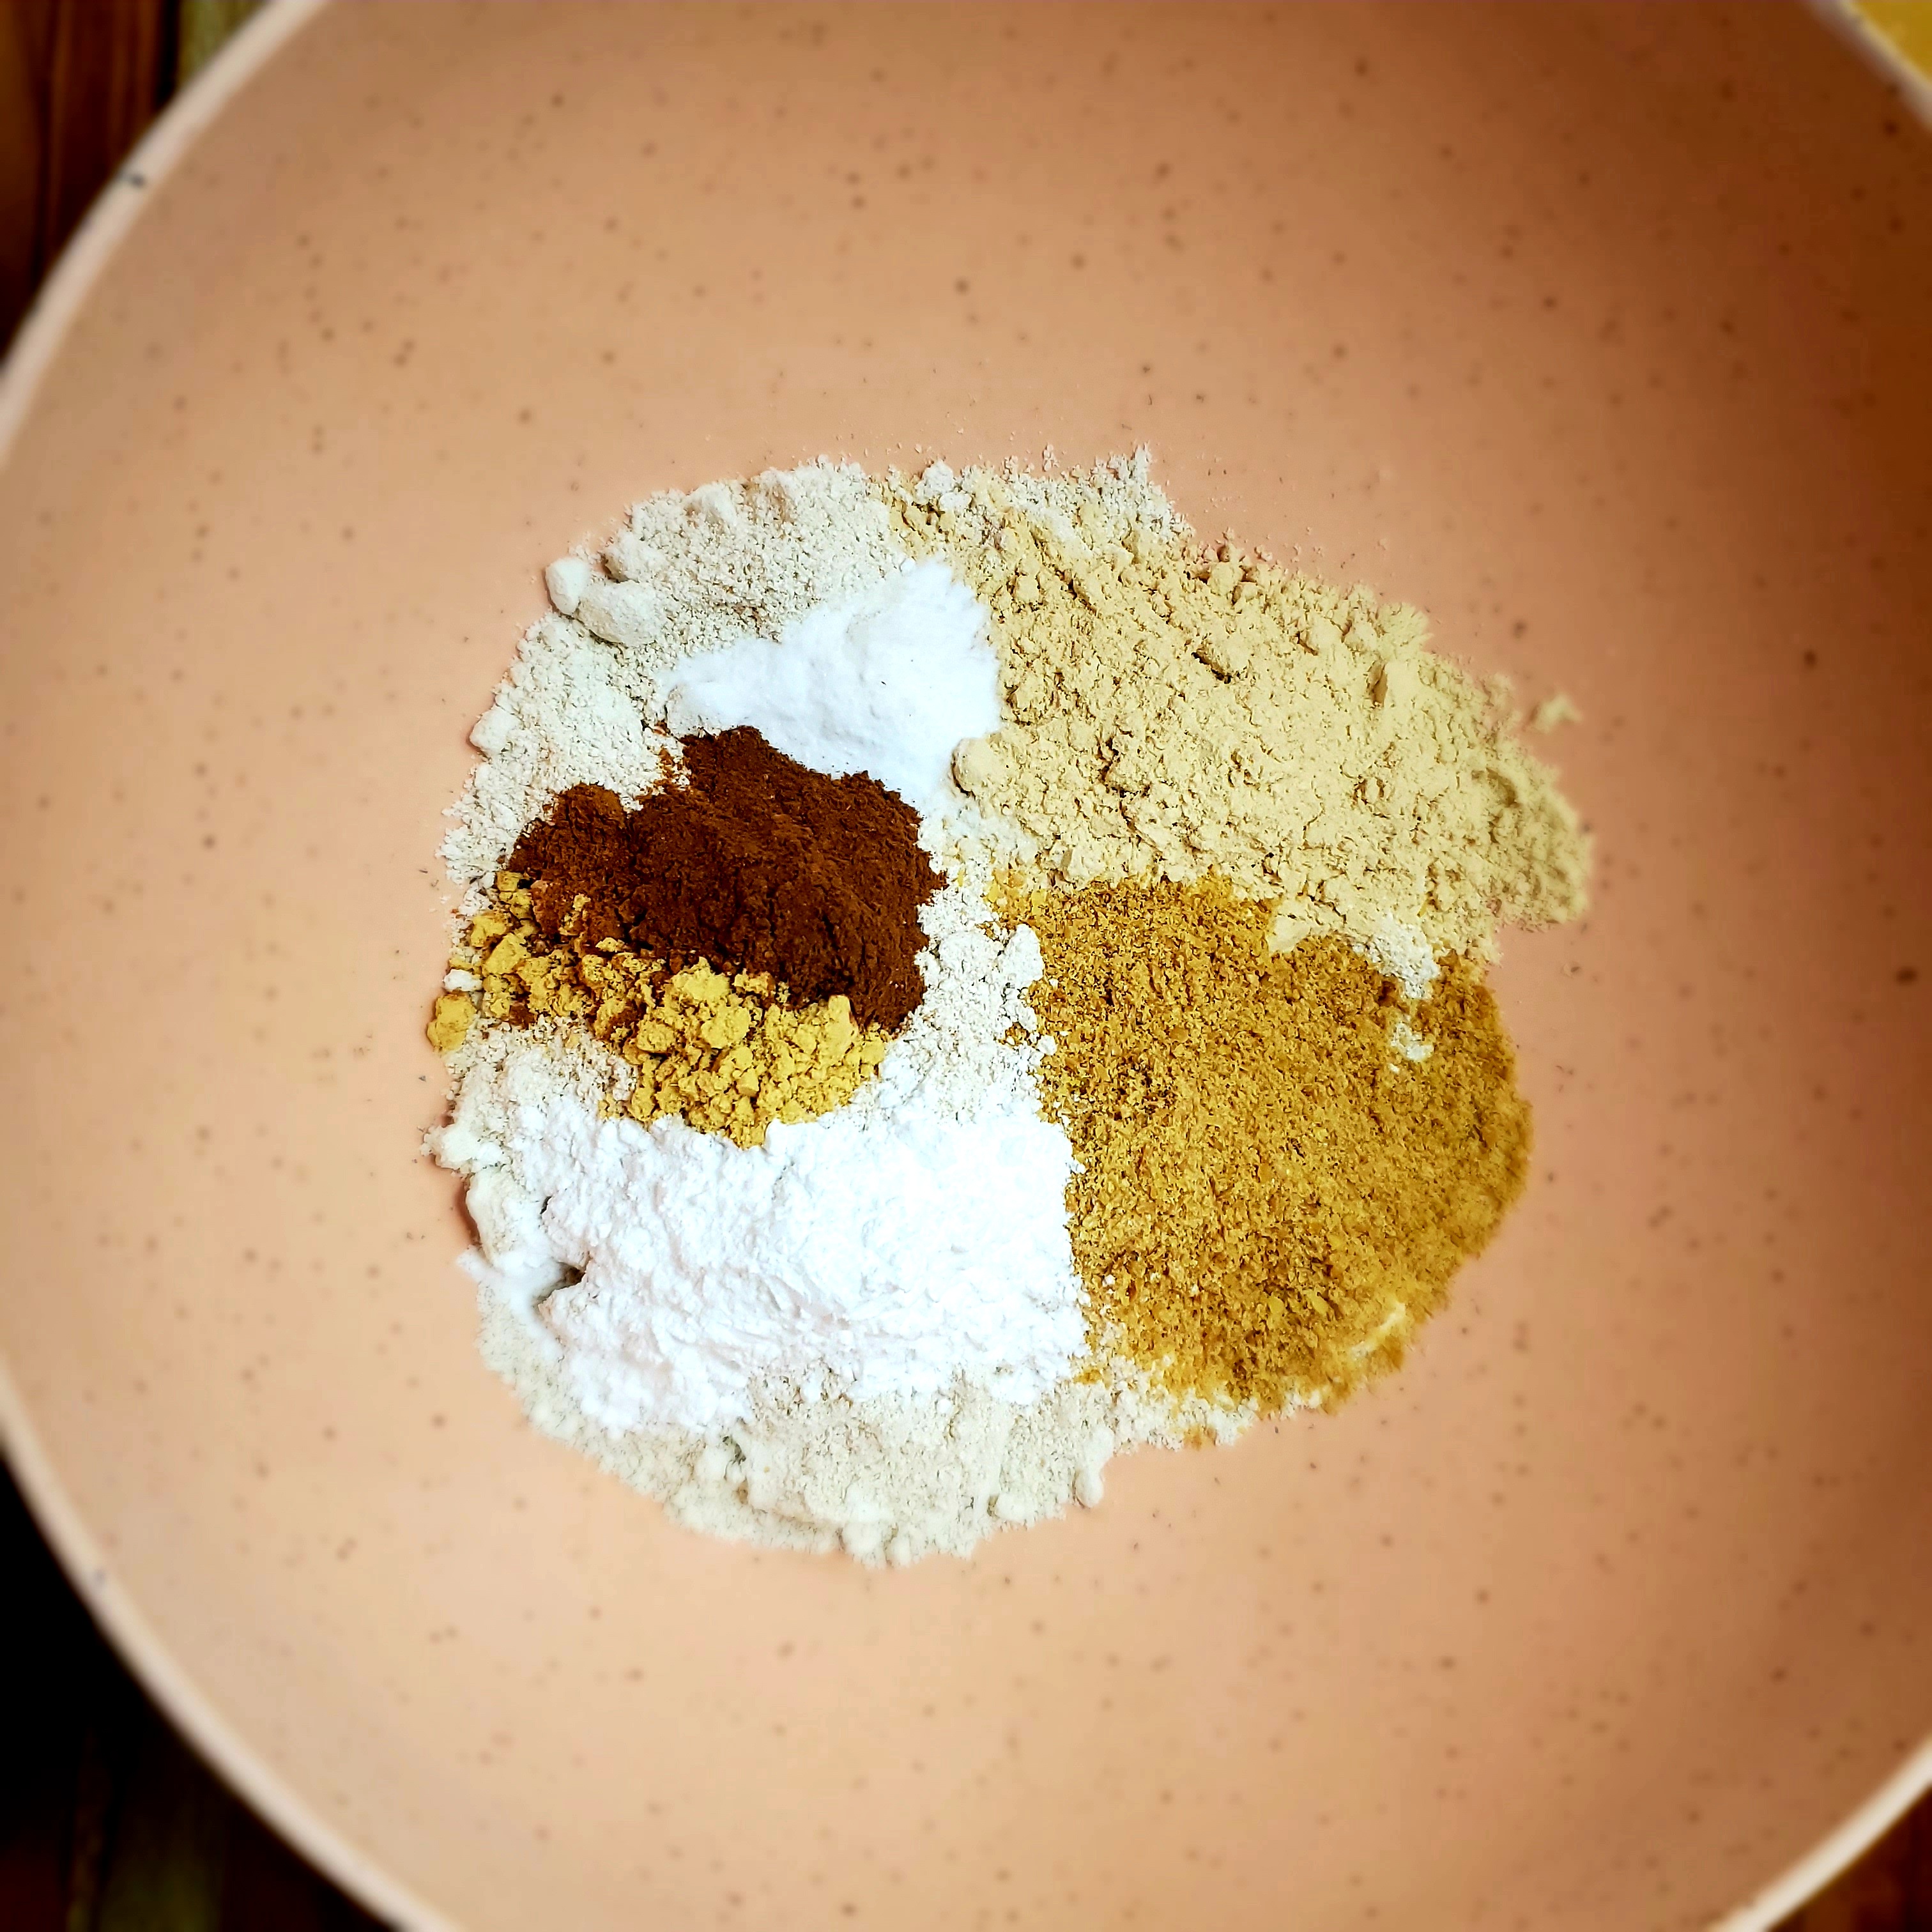
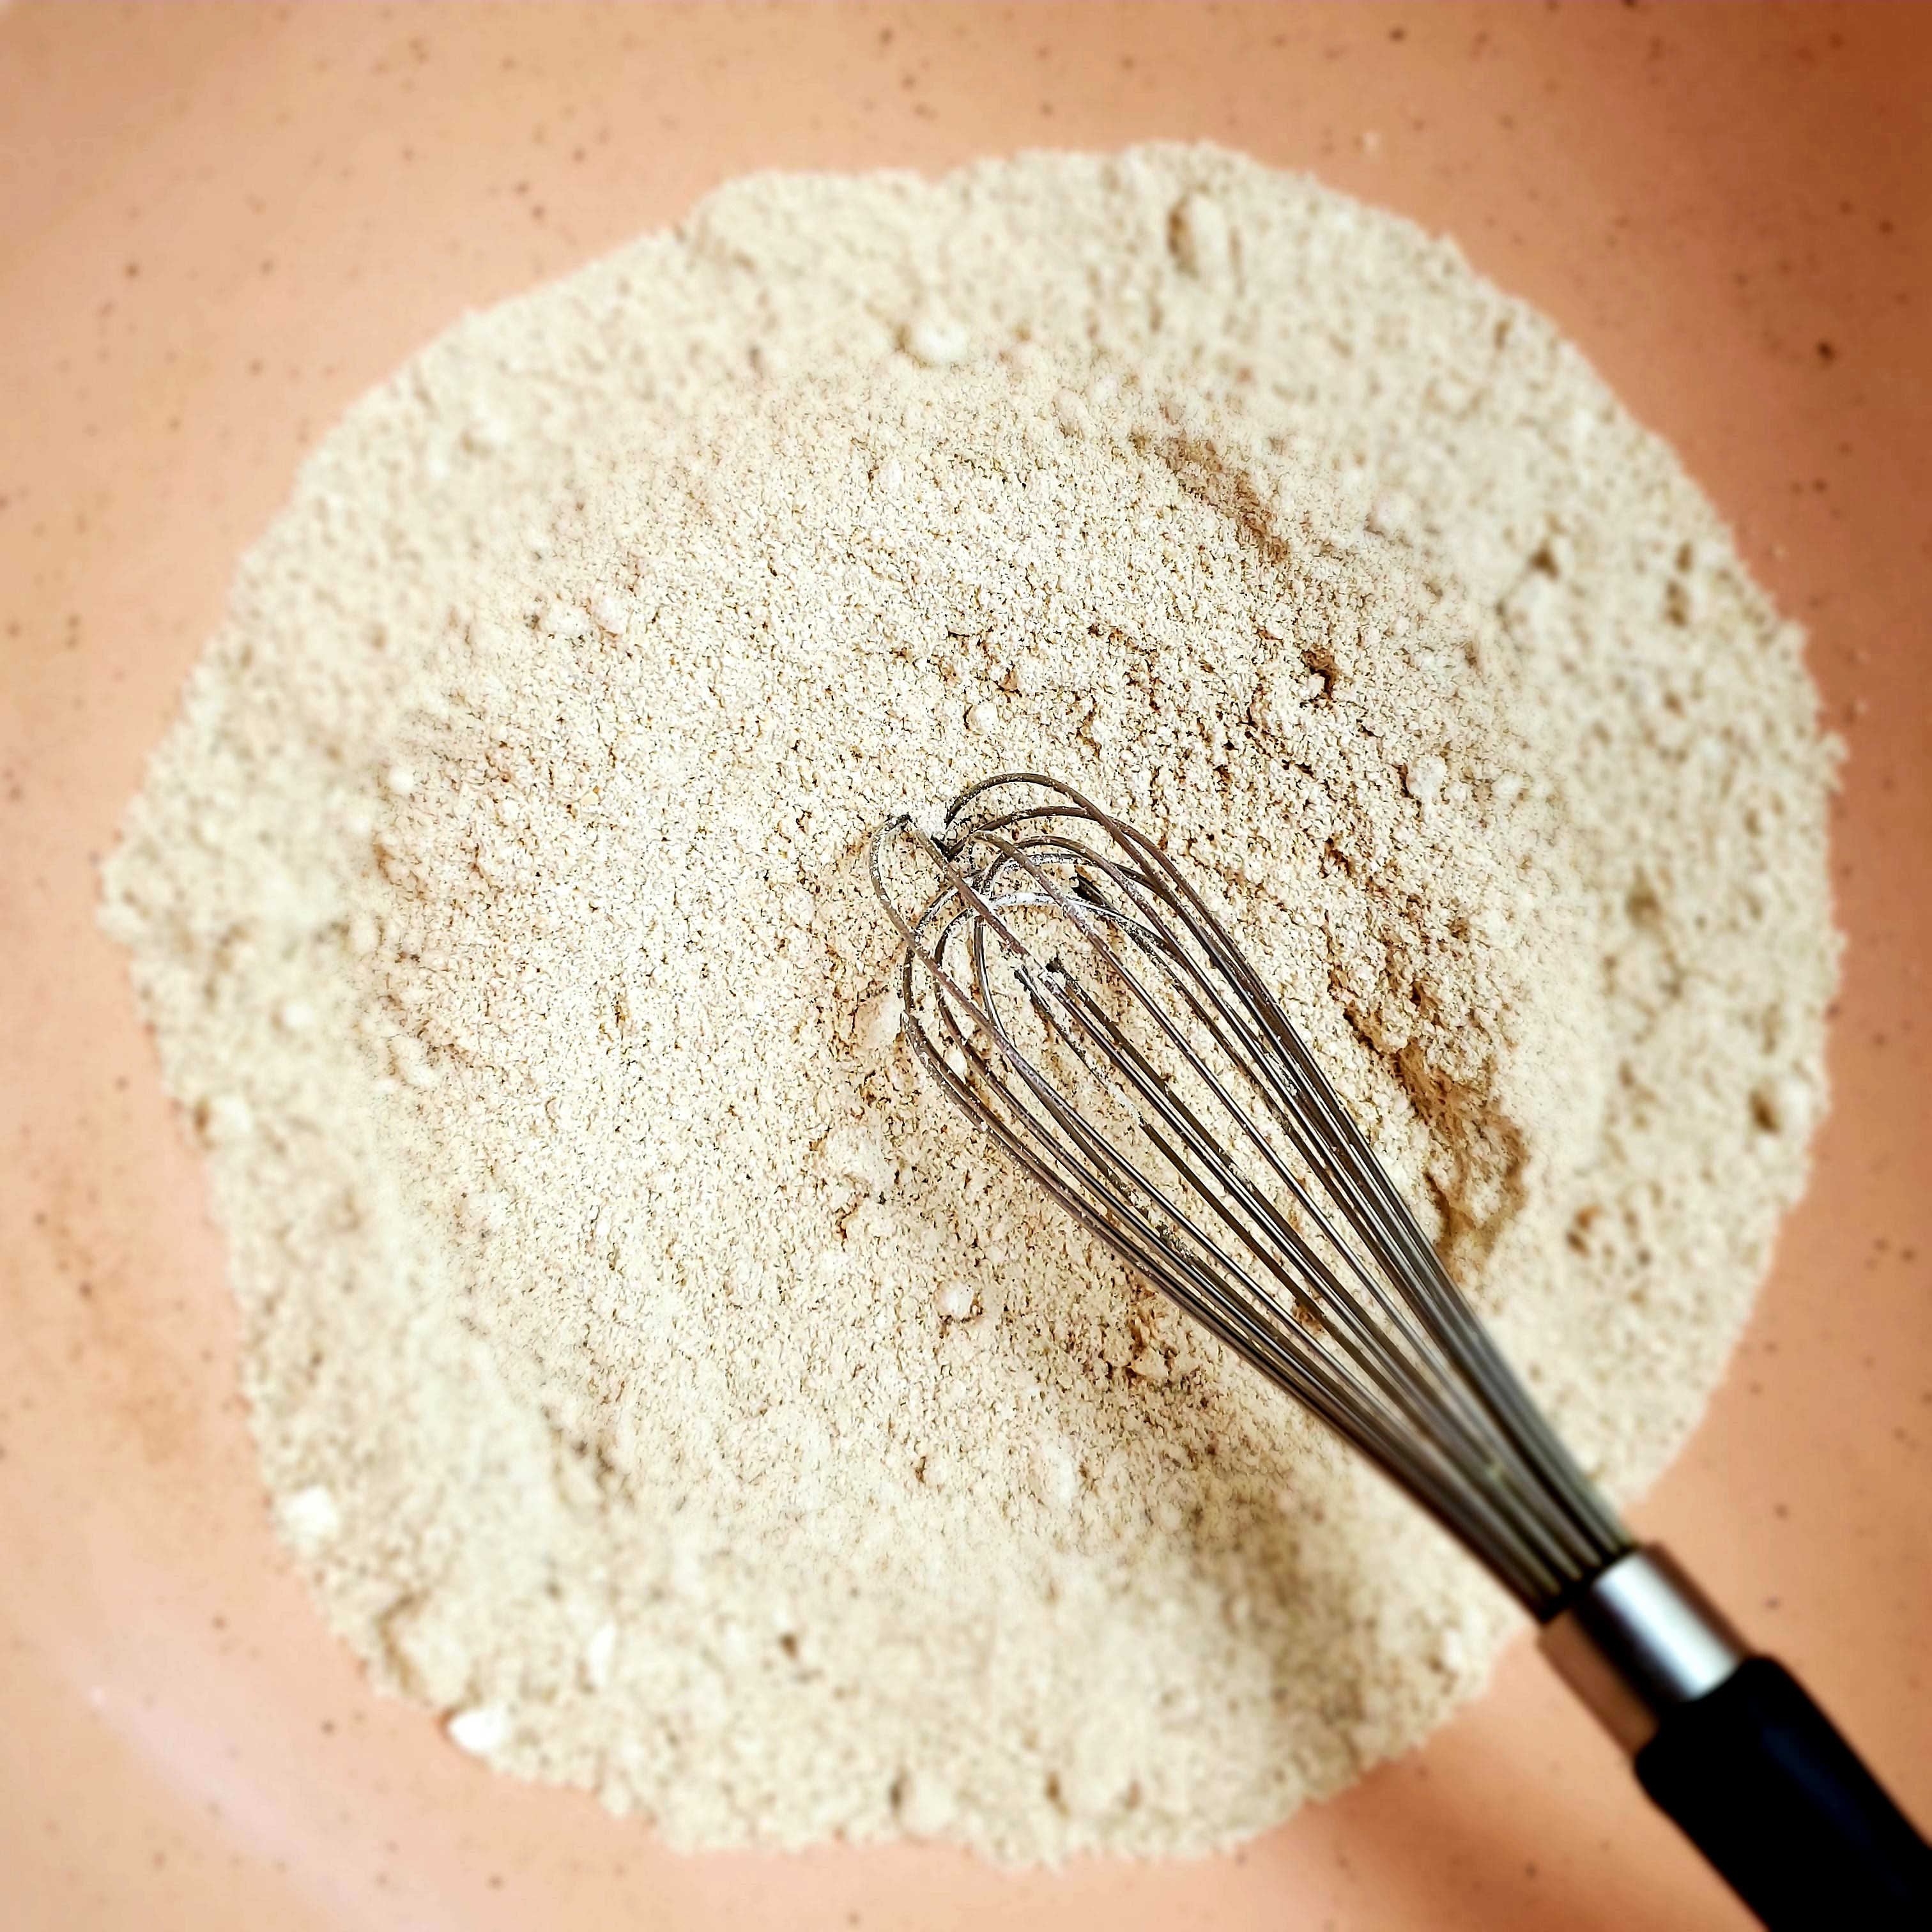
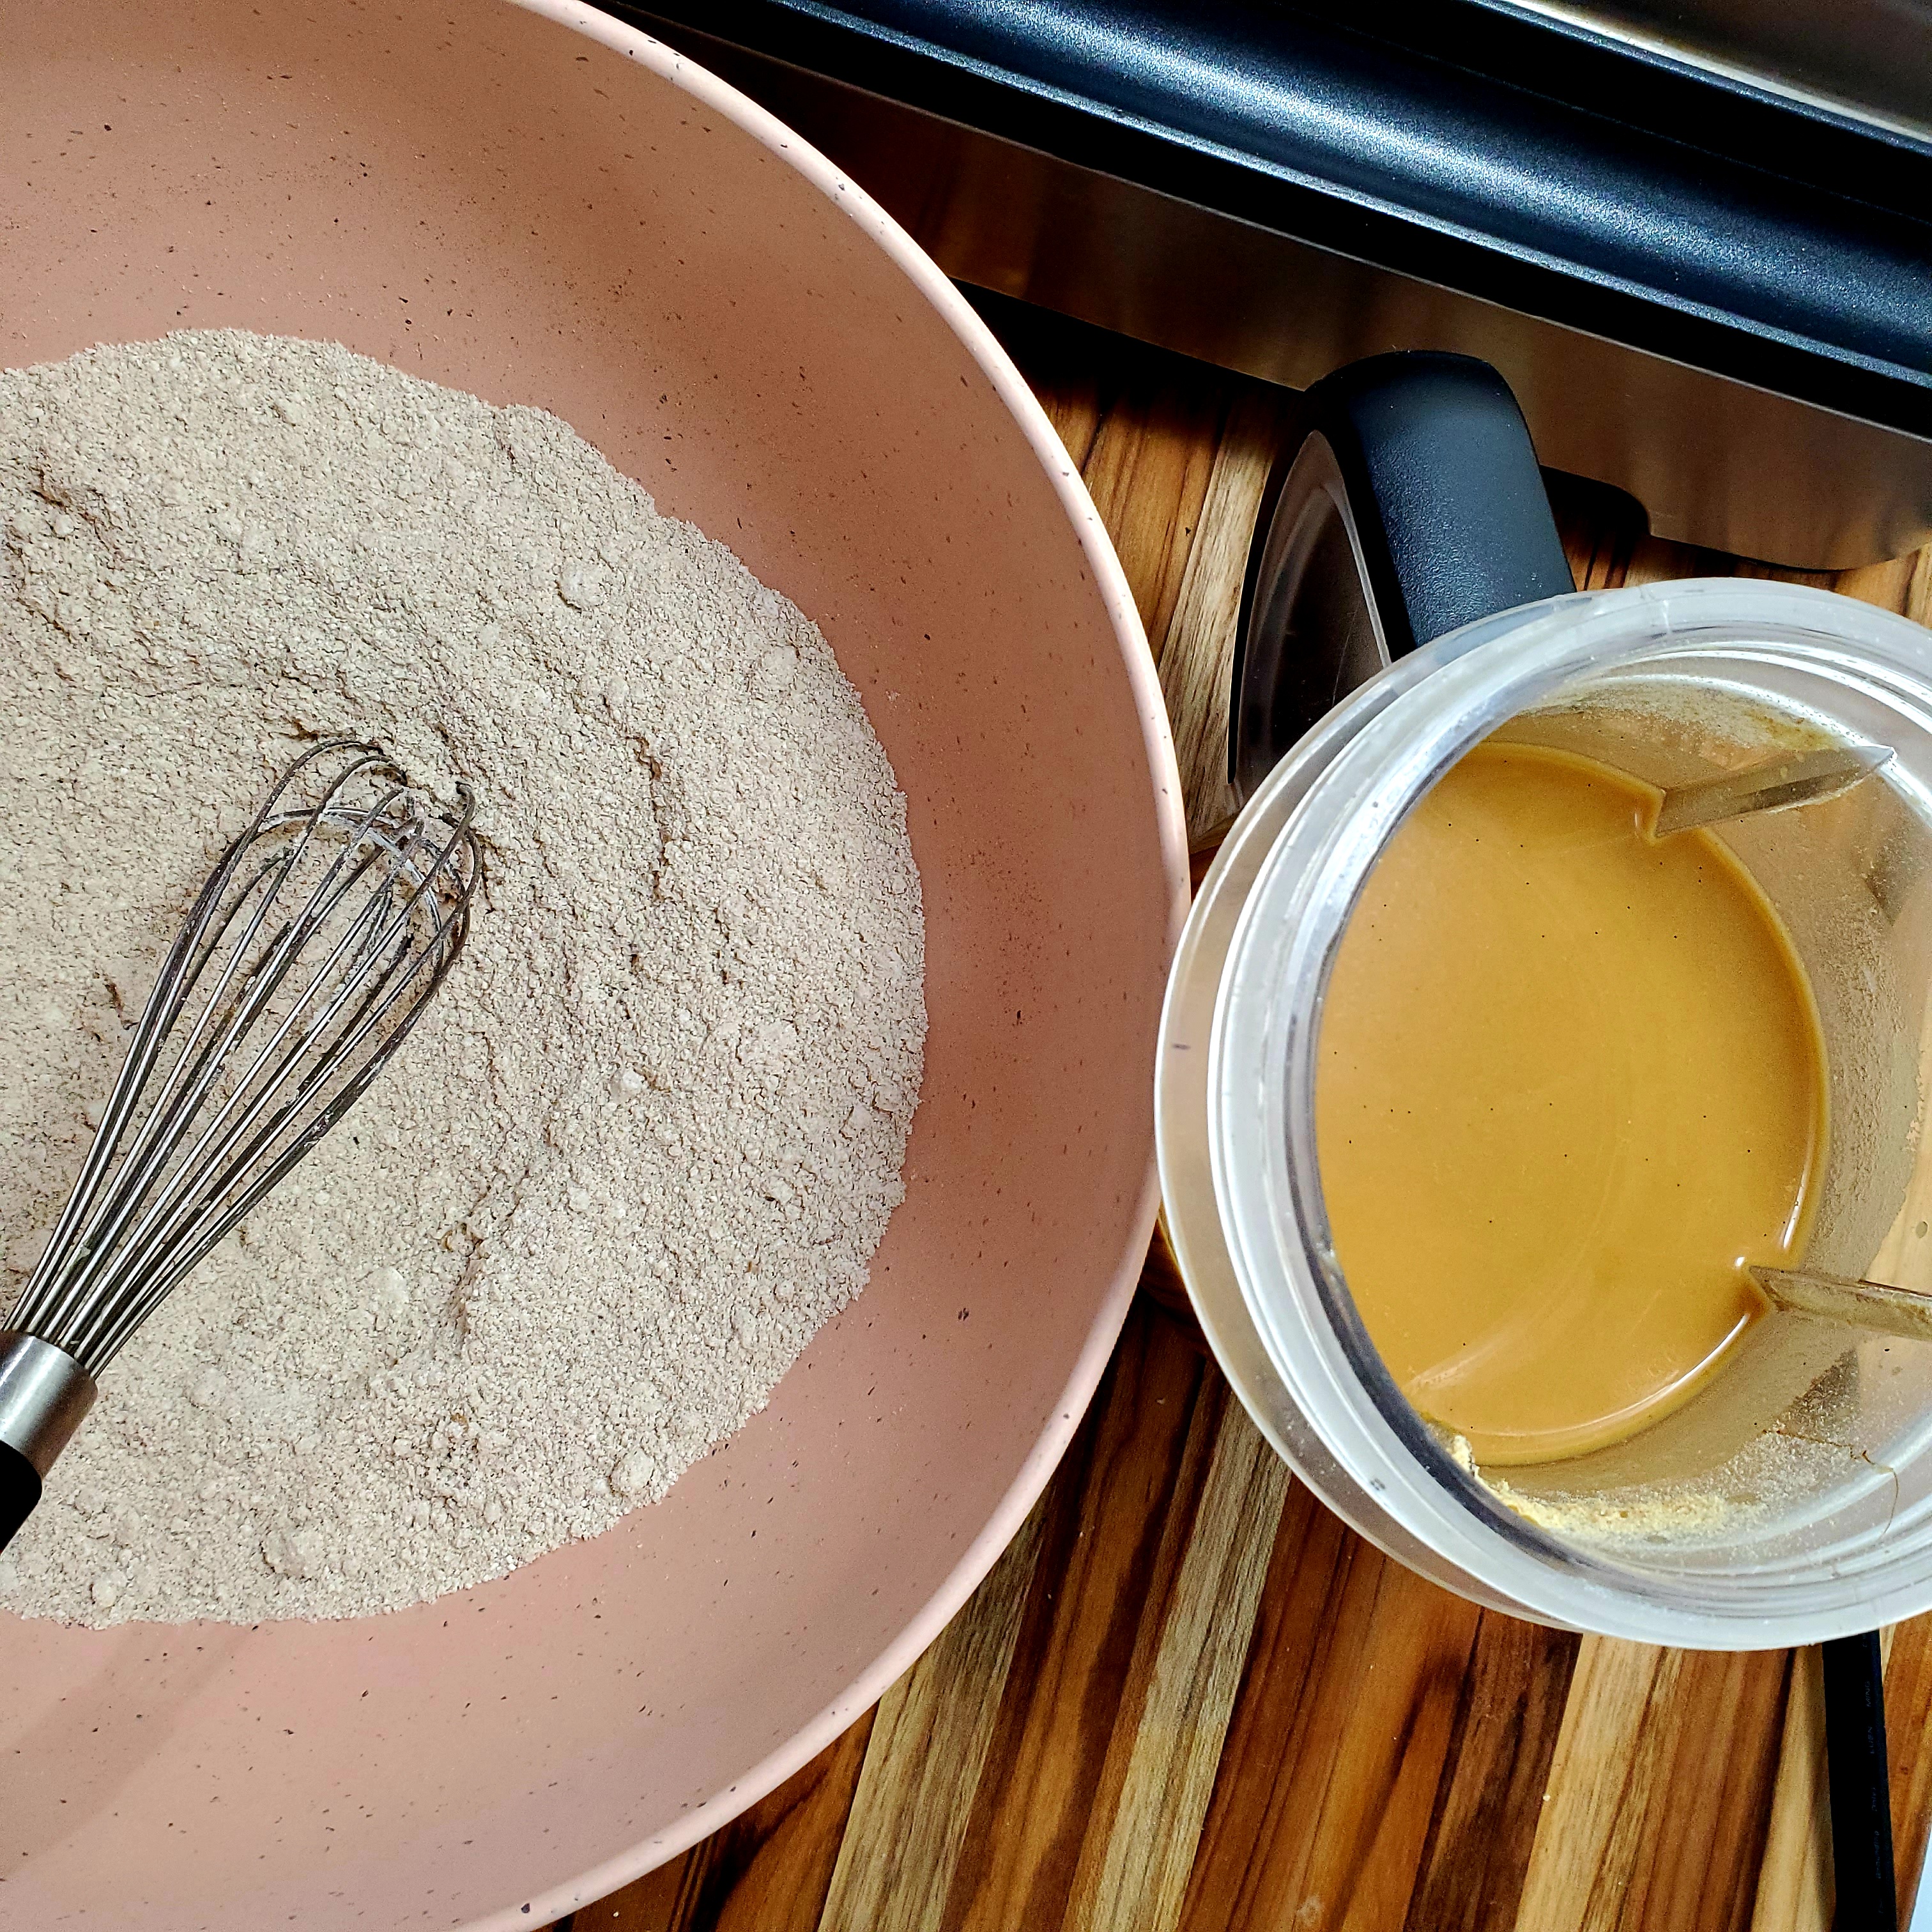
In a medium bowl, whisk first 9 ingredients together. Set aside while you combine the wet ingredients.
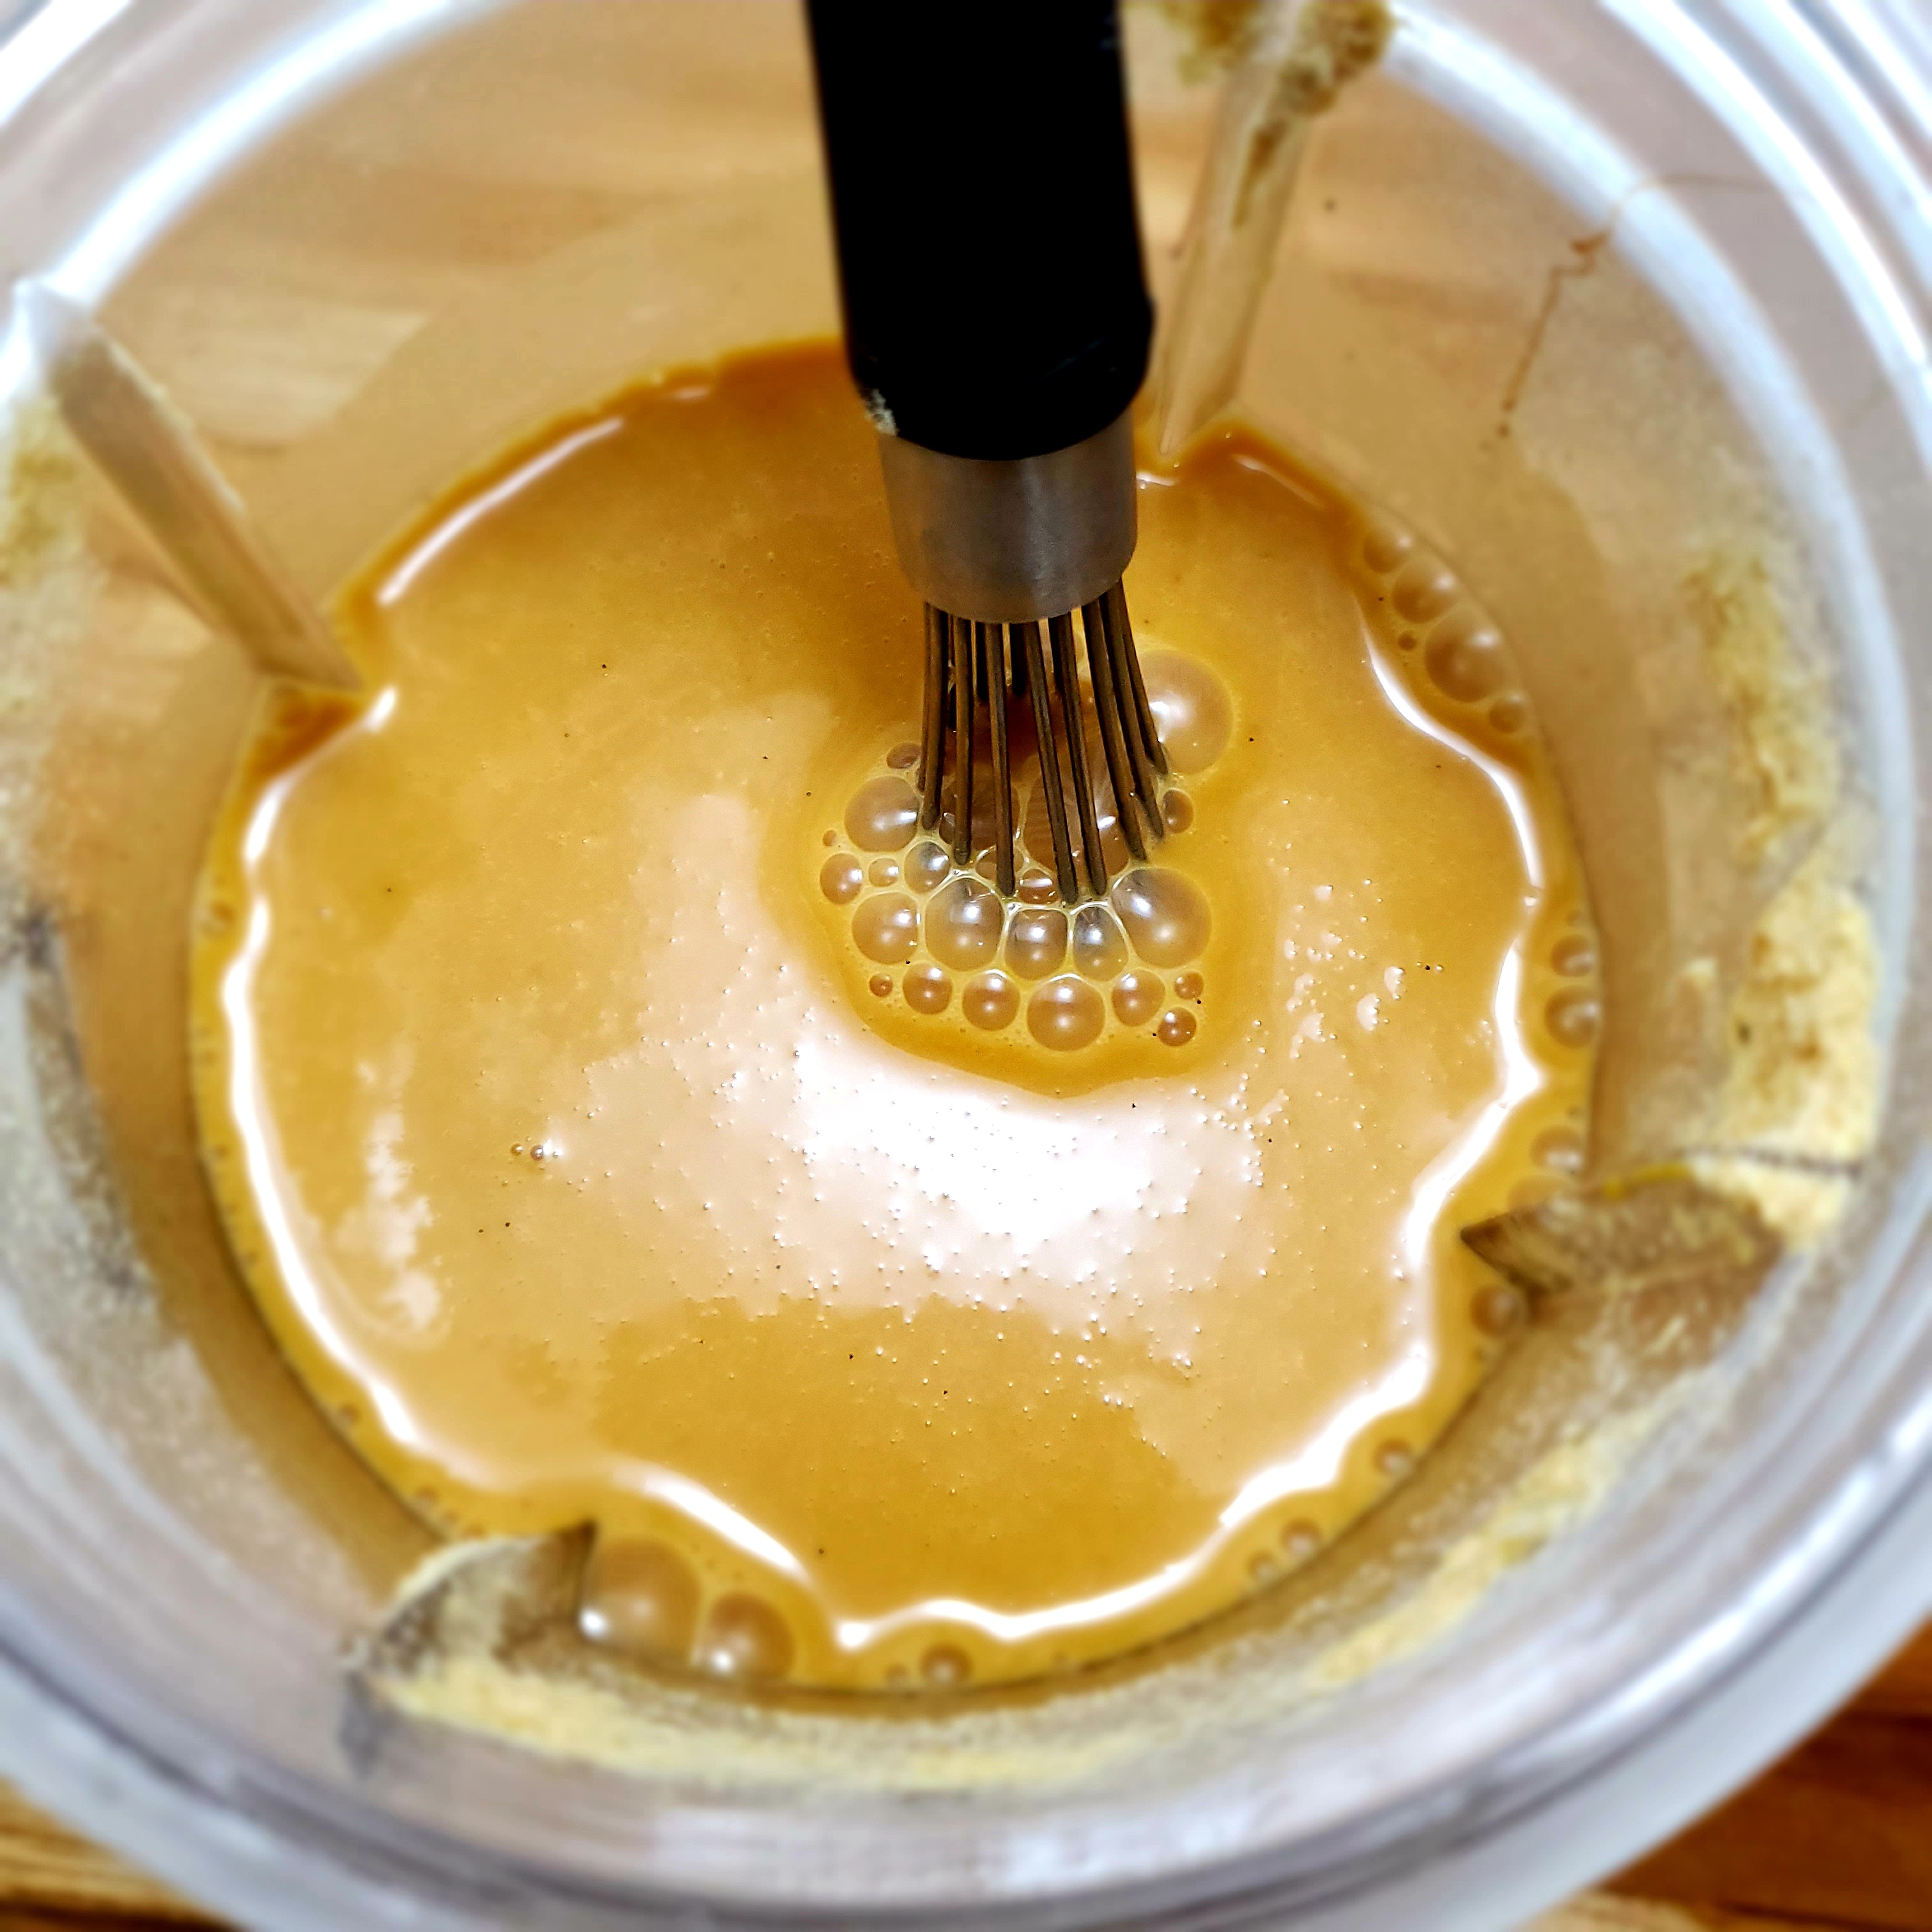
Pour your plant milk into a small bowl or blender and whisk in the vinegar. Allow this to sit for a minute or two. This works best with room temperature or warmed milk but milk straight of the fridge works just fine.
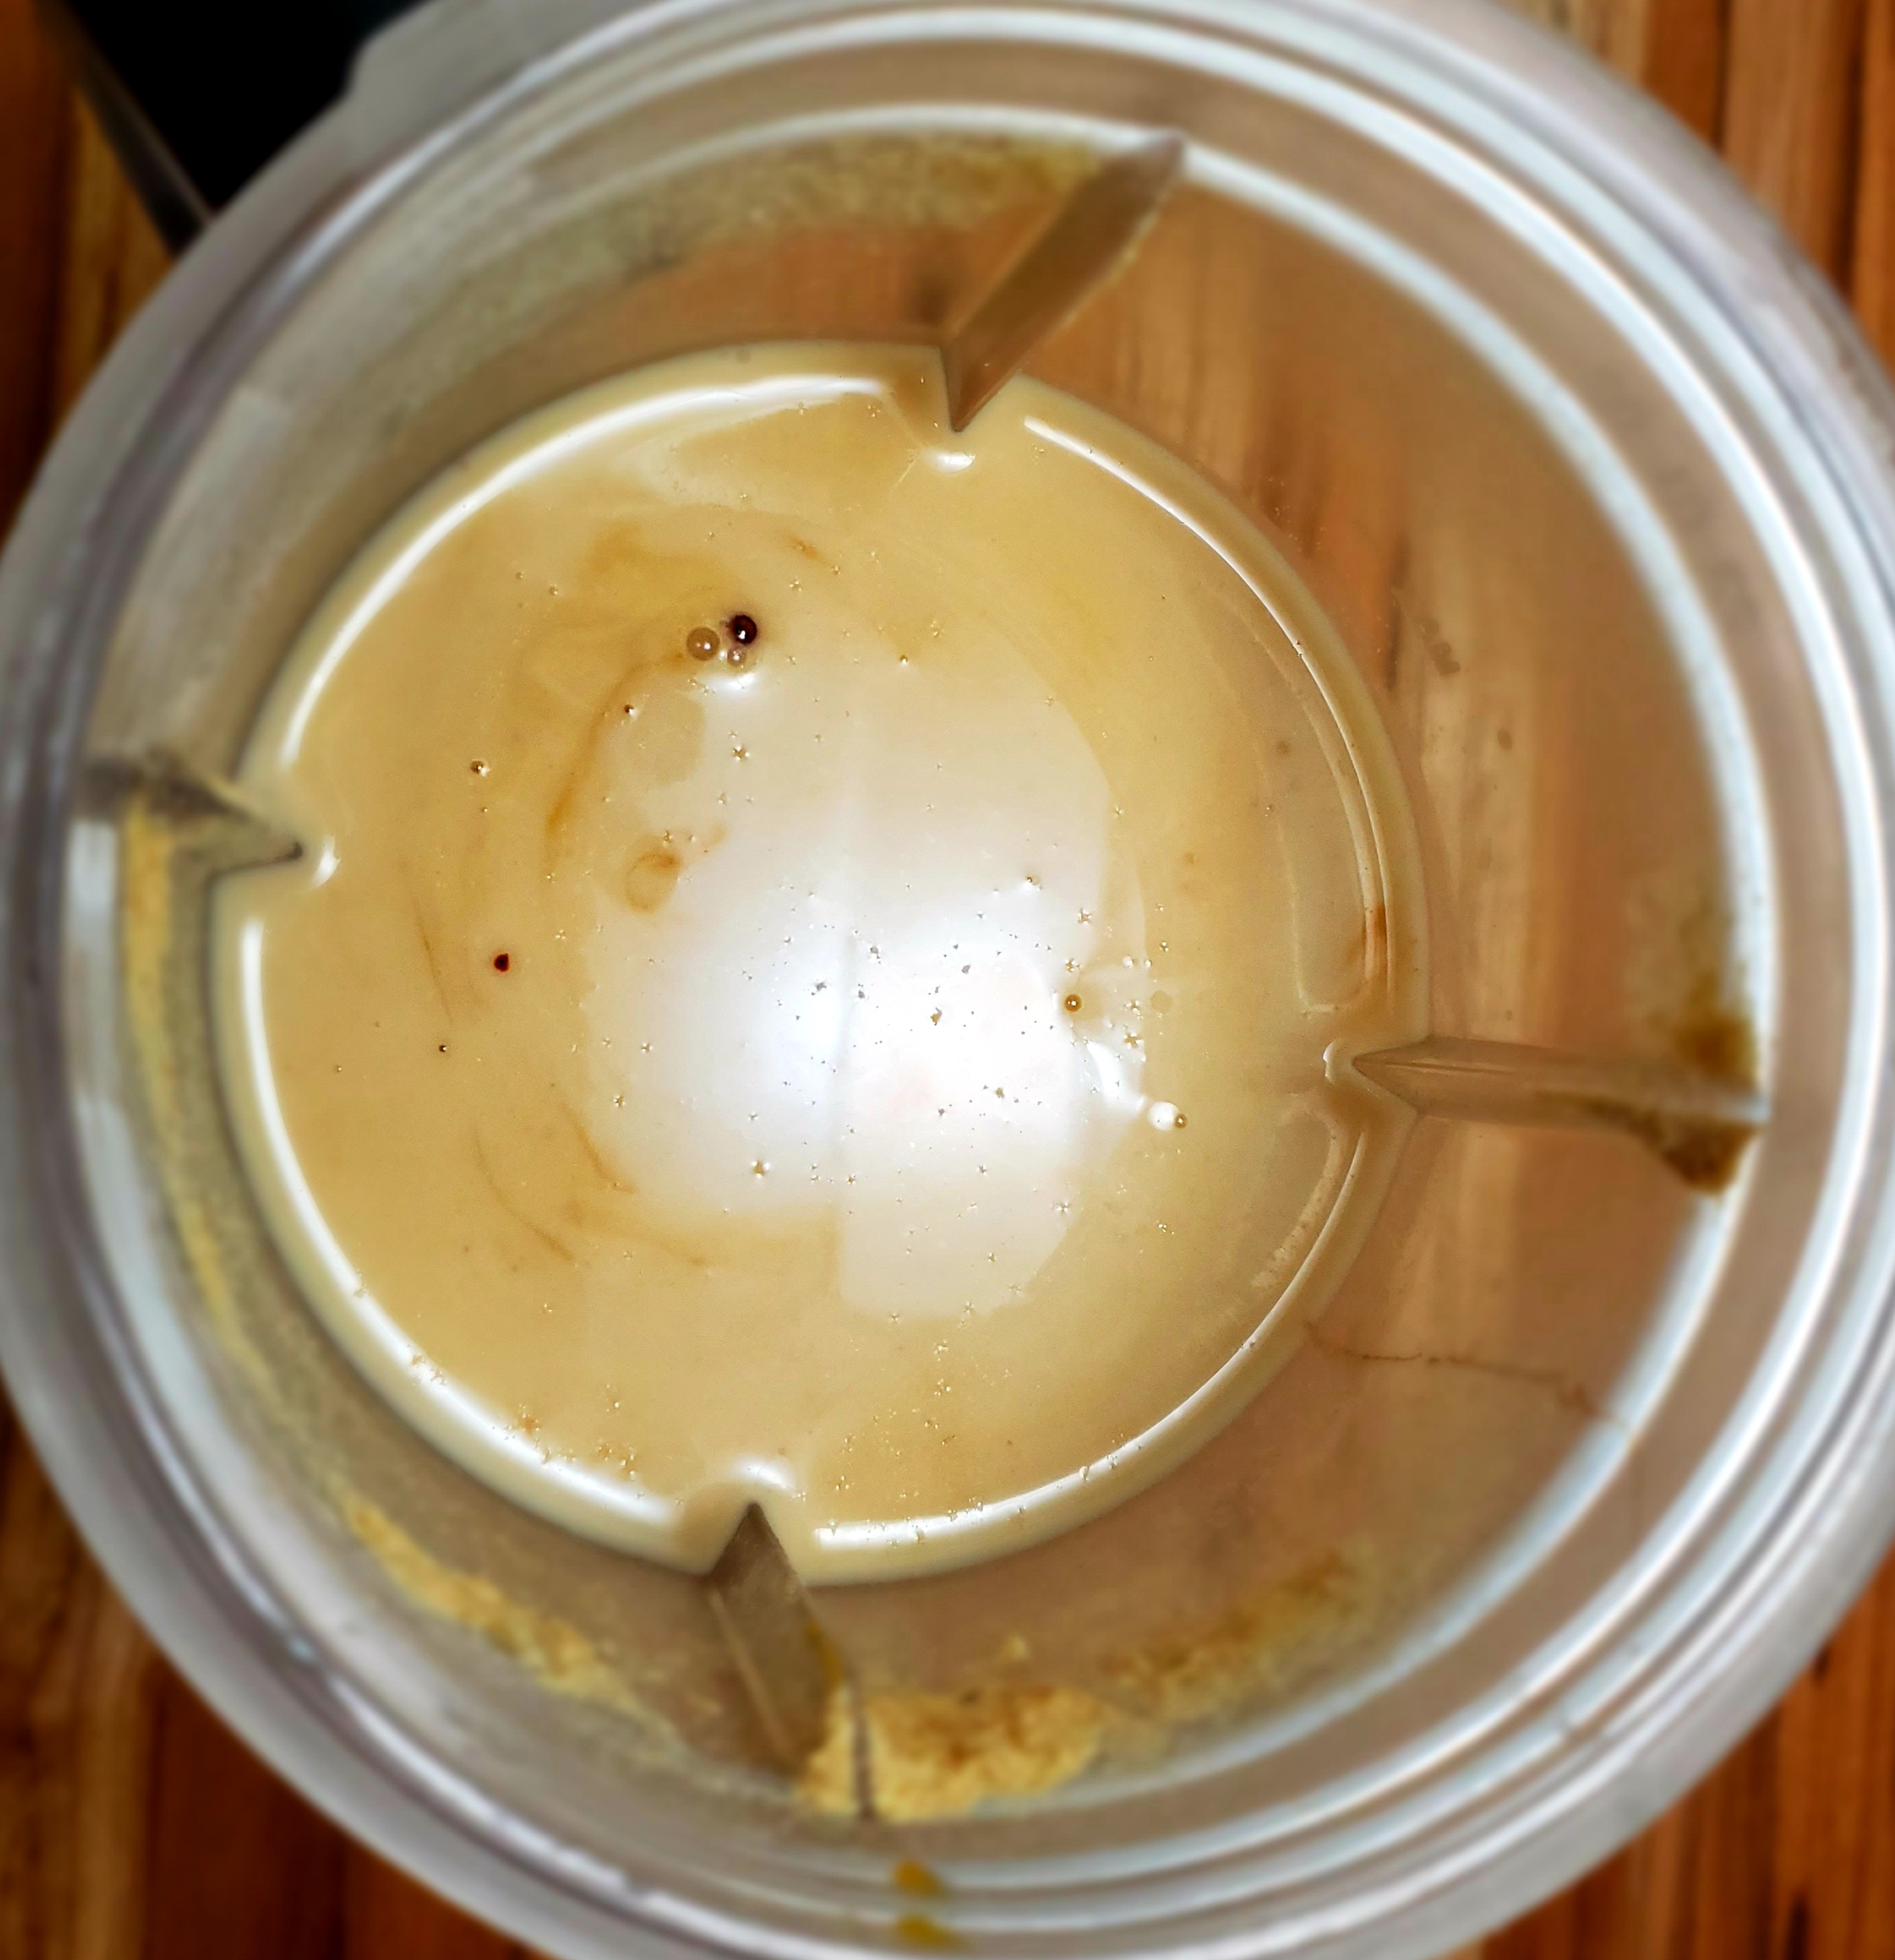
Add the banana or pumpkin, maple syrup, molasses , and vanilla. Blend or whisk until fully combined. Sometime I will use a blender to make sure my banana is fully incorporated but its not a necessary step.
*If blending, this is a great opportunity to use any small blender you have like a bullet blender.
At this point begin to preheat your pan or waffle iron so that its nice and hot by the time your batter is ready to go.
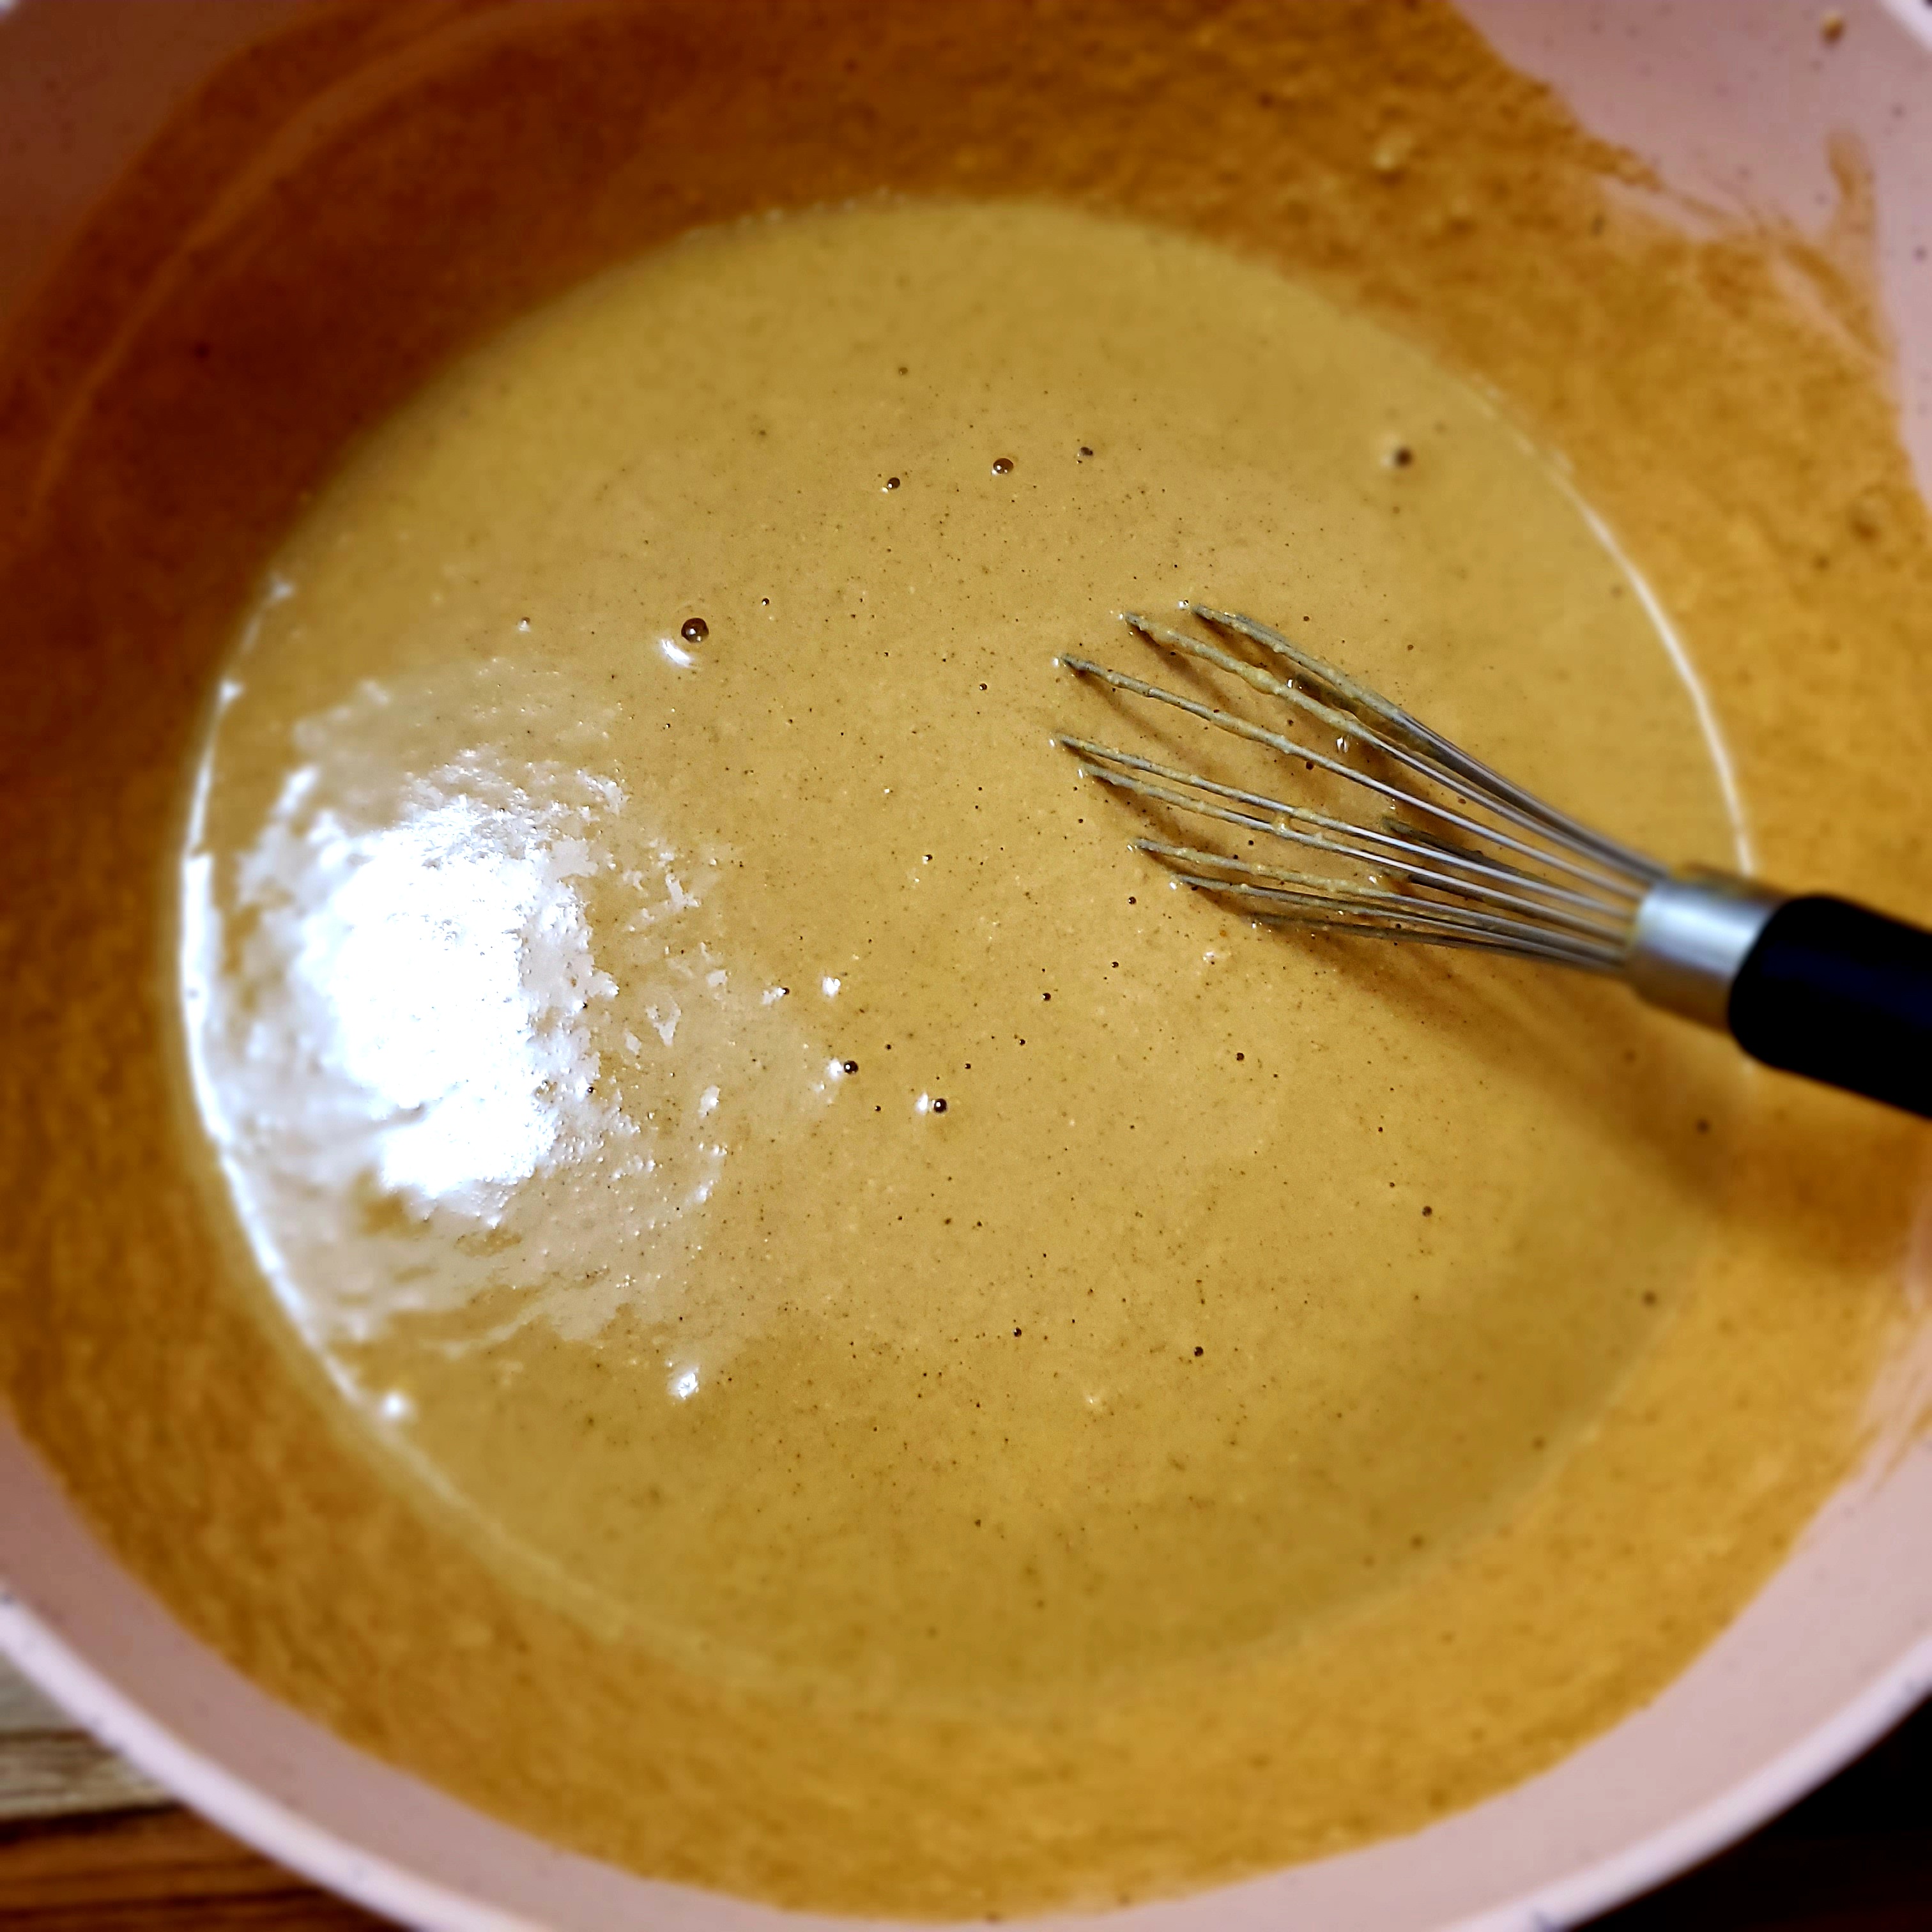
Pour the wet mix into the bowl of dry mix. Gently whisk, making sure everything gets incorporated. Adding blueberries or chocolate chips at this stage is also an option, about 3/4 cup of either goes a long way in this batter.
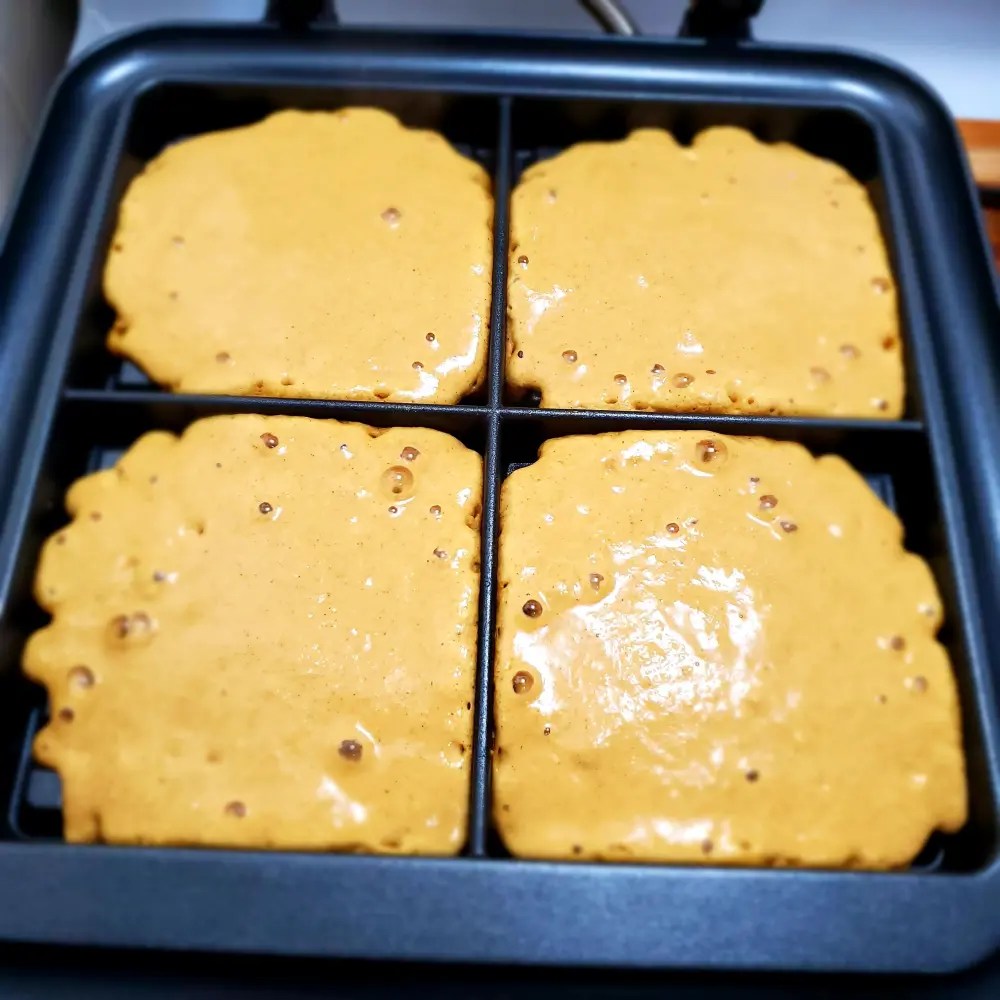
If making waffles, spray preheated waffle iron and add 1/4 -1/2 cup of batter depending how big your iron is. Remember, the batter will spread so if you don’t have much space to work with, use less batter. My waffle iron bakes in 5 minute intervals and that’s usually enough time to make nice golden waffles. Most machines have their own timing so I would just follow instructions for your specific machine. Repeat until all of the batter is gone.
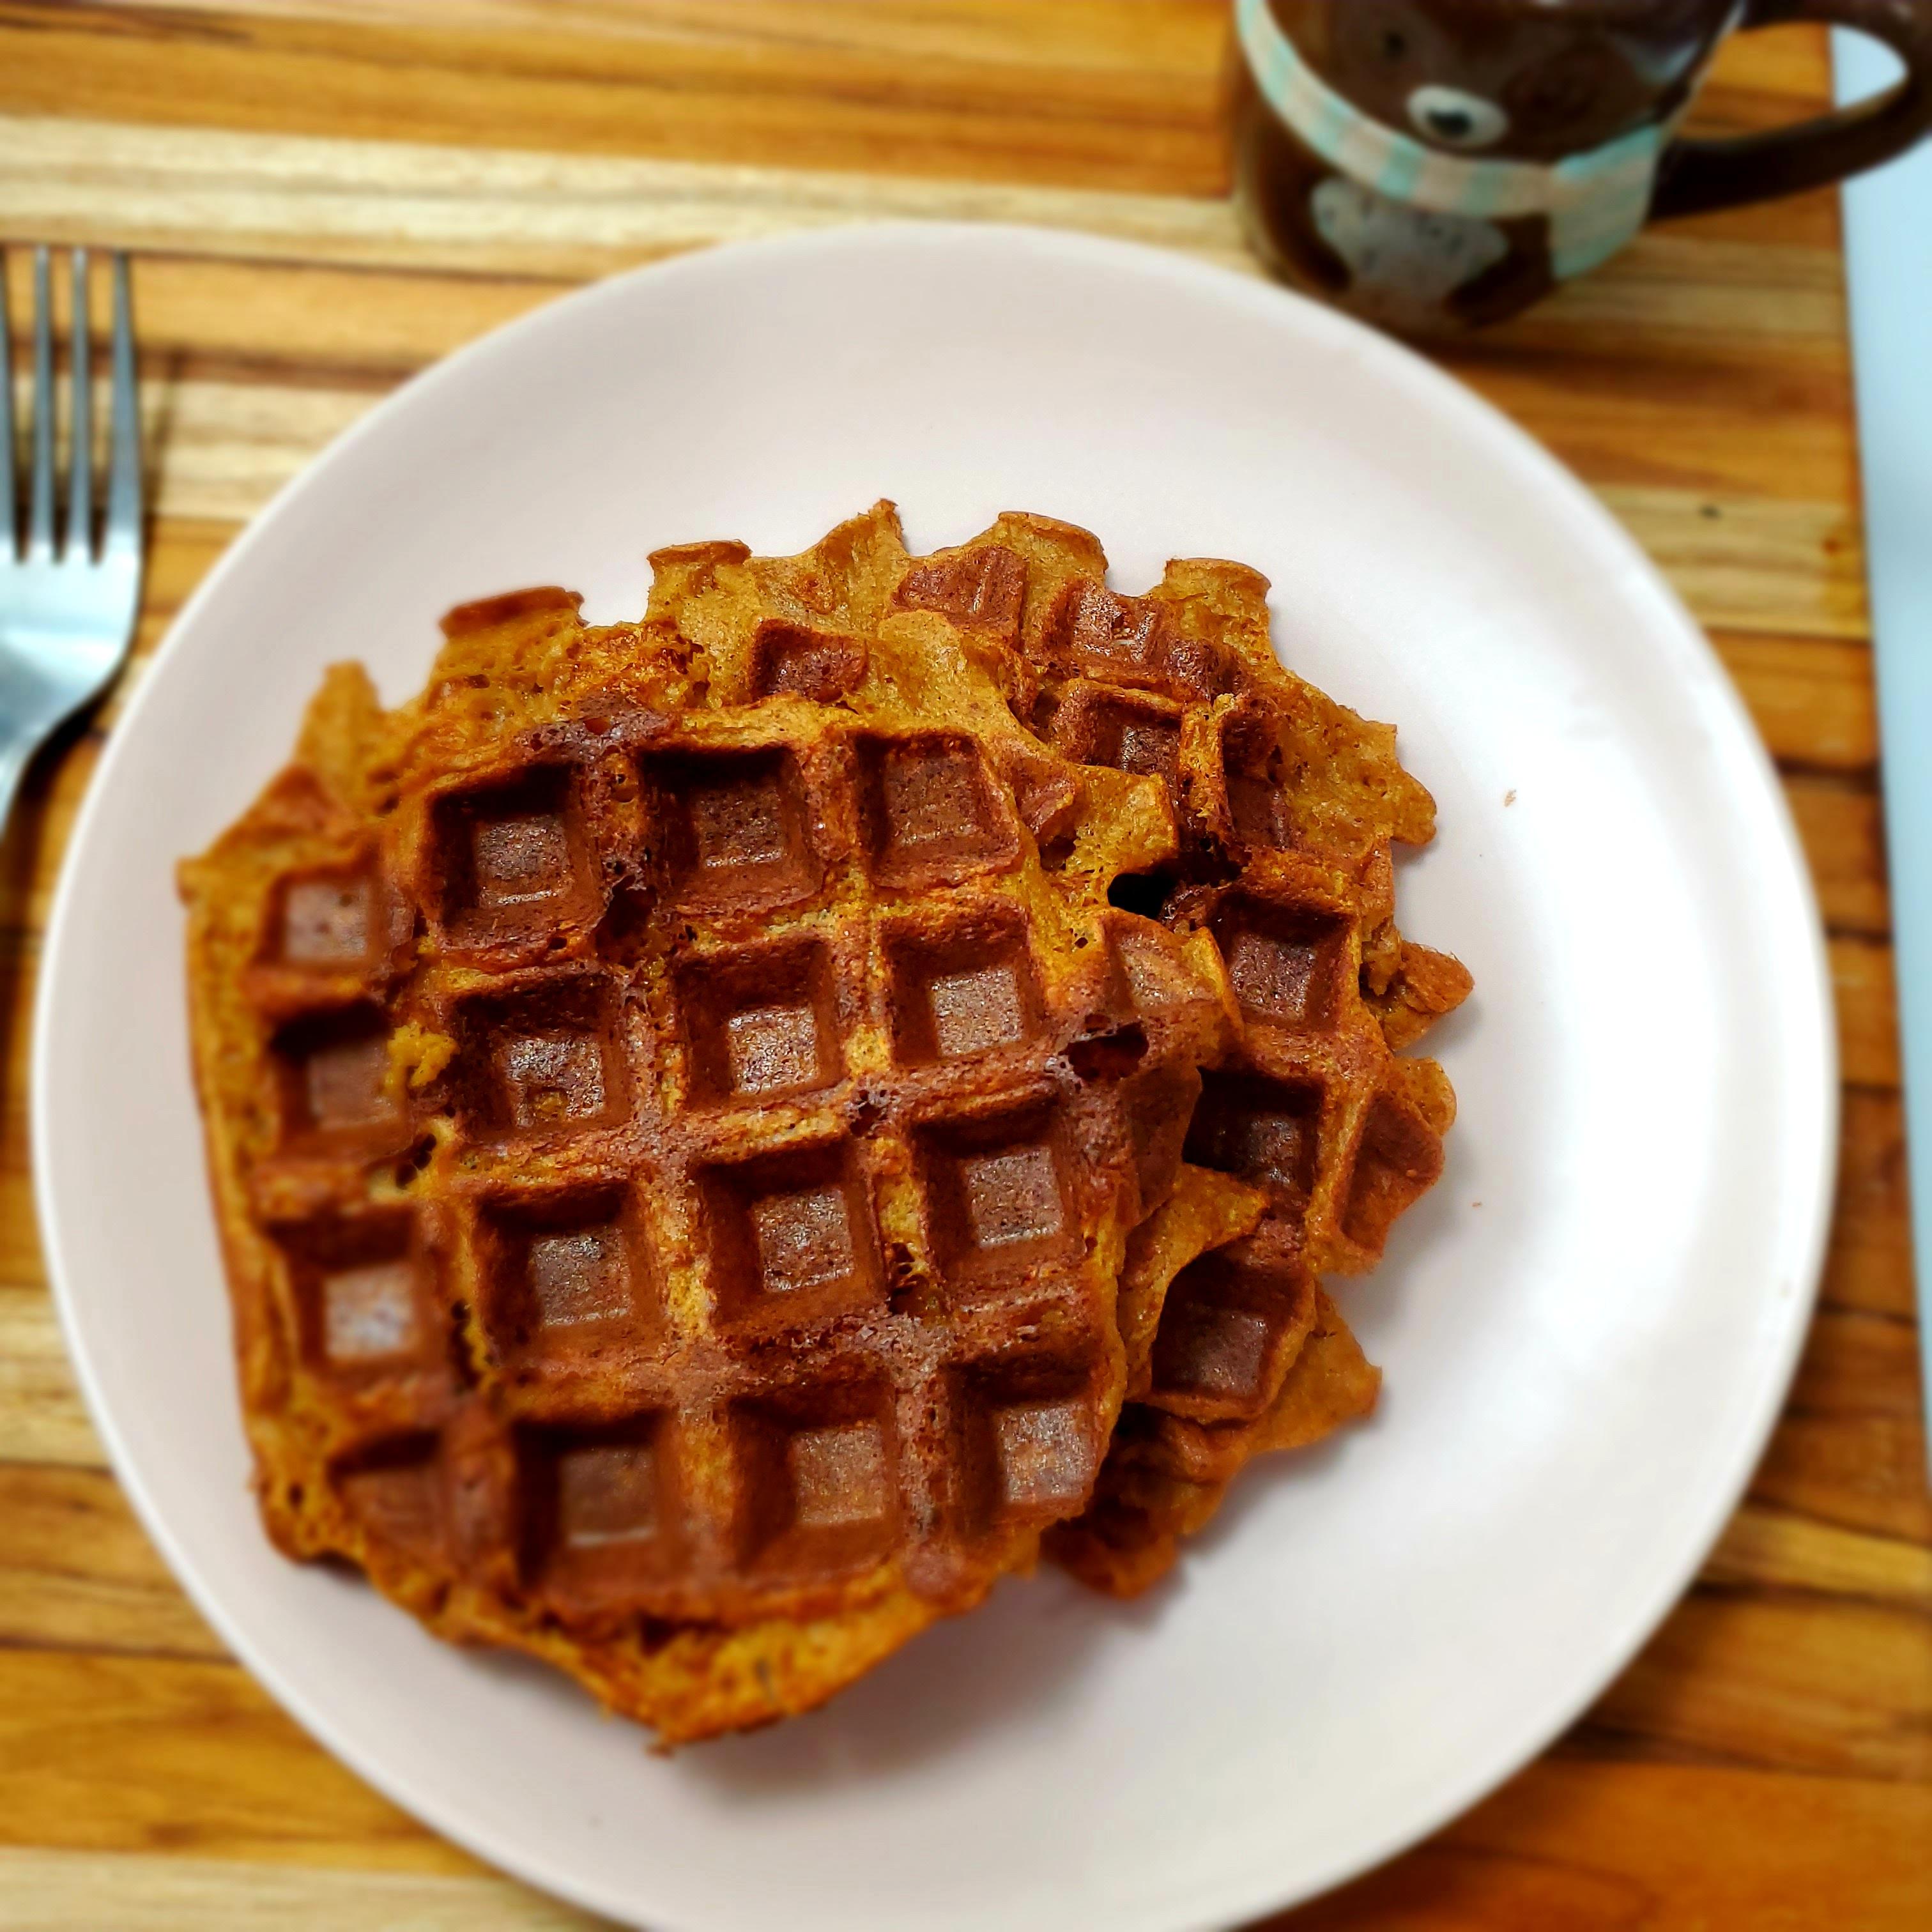
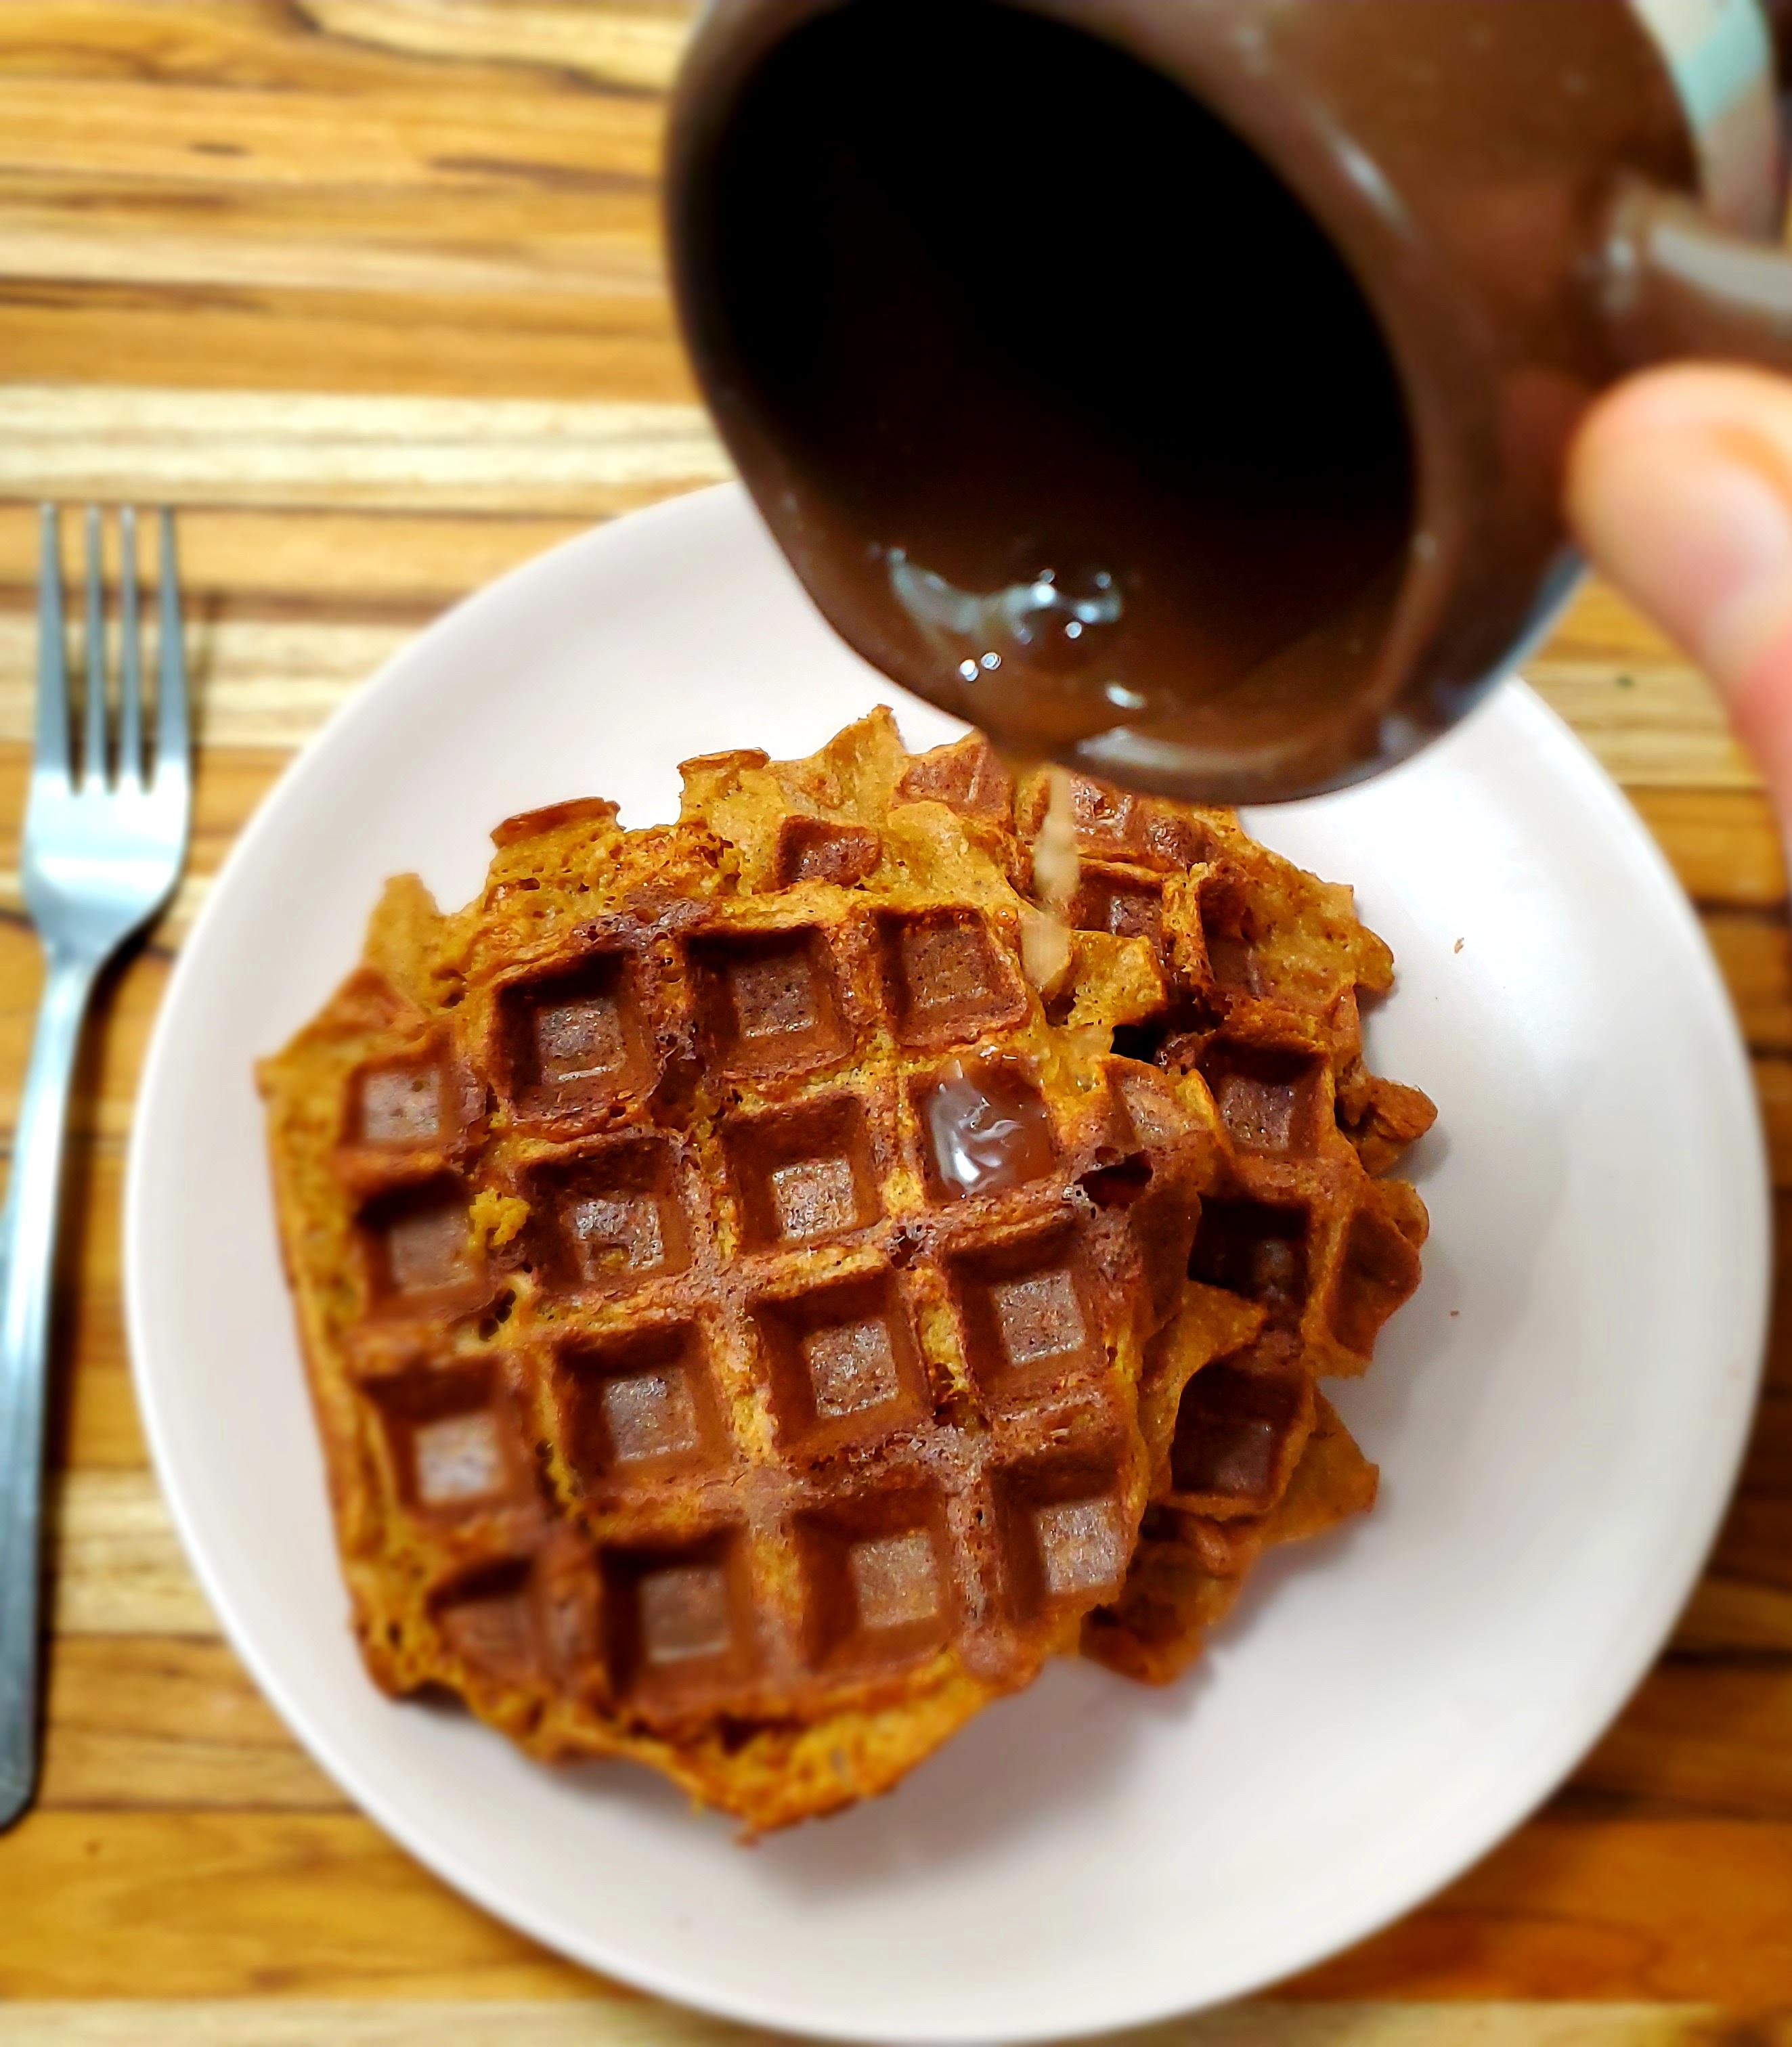
Once the waffles are done, remove them from the hot iron and serve immediately with toppings and syrups of choice. Another option is to cool the waffles and transfer them to a parchment lined baking sheet. Place the sheet of waffles in the freezer and allow them to become fully frozen. You can now stack the frozen waffles in storage bags or containers with lids and place them back in the freezer. Now, whenever you want a waffle just pop one out of the freezer and into the toaster or microwave. Ready to go in minutes.


If making pancakes, spray preheated pan (preheated at medium temperature) and drop 1/4 cup of batter onto the pan. Keep pan at medium heat and cook pancakes until golden brown at the bottom and lightly bubbling on the top. This usually takes 2-3 minutes. Flip and cook until the other side is golden brown and pancake is cooked through. Repeat until all of the pancake batter is gone.
Serve pancakes immediately or follow the freezing instructions above to have frozen toaster ready pancakes.
After freezing extra pancakes or waffles I will store them in an airtight container or bag and keep them in the freezer.